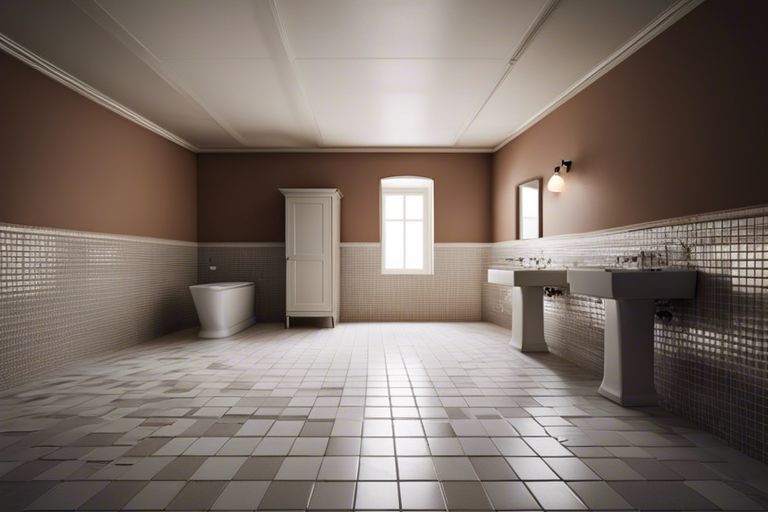
Before diving into the tiling project in your bathroom, it’s important to ensure that the space is properly prepped and ready for the work to begin. This may involve removing old tiles, fixtures, or ensuring that the area is cleared of any obstructions. Taking the time to properly prepare the space can make the entire tiling process go much more smoothly and result in a high-quality finished product. In this blog post, we’ll discuss the steps you can take to properly prep your bathroom for a tiling project, ensuring that the end result is exactly what you envisioned.
Key Takeaways:
- Preparation is key: Before the tiling work begins, it’s important to ensure that the bathroom is ready for the project. This may include removing old tiling, fixtures, or clearing the space to create a clean working area.
- Save time and effort: Proper preparation can save time and effort during the tiling process. Clearing the space and removing old materials beforehand can streamline the project and reduce potential delays.
- Ensure a smooth tiling process: By prepping the bathroom before the project begins, you can set a solid foundation for the tiling work. This can result in a more efficient and successful outcome.

Pre-Demolition Preparations
Any successful tiling project starts with thorough preparations before the demolition begins. This stage is crucial in ensuring a smooth and efficient process, and in minimizing potential issues that may arise during the demolition phase.
Assessing the Current Bathroom Condition
PreDemolition, it is important to carefully assess the current condition of the bathroom. Look for any signs of water damage, mold, or structural issues that need to be addressed before the tiling work can begin. Take note of any fixtures or features that need to be removed, as well as the condition of the existing tiles. This assessment will help you better understand the scope of the demolition work and prepare accordingly.
Materials and Tools Needed for Demolition
An essential aspect of pre-demolition preparations is gathering the necessary materials and tools for the demolition process. This may include protective gear such as gloves, goggles, and masks, as well as demolition tools such as a hammer, pry bar, and chisel. It is also important to have containers for waste disposal and to protect any remaining fixtures and surfaces from damage during the demolition.
Any successful tiling project requires thorough pre-demolition preparations to ensure a smooth and efficient process. The right materials and tools are essential for the demolition phase, and a careful assessment of the current bathroom condition can help identify any potential issues that need to be addressed beforehand. By taking the time to properly prepare for the project, you can set the stage for a successful tiling renovation.
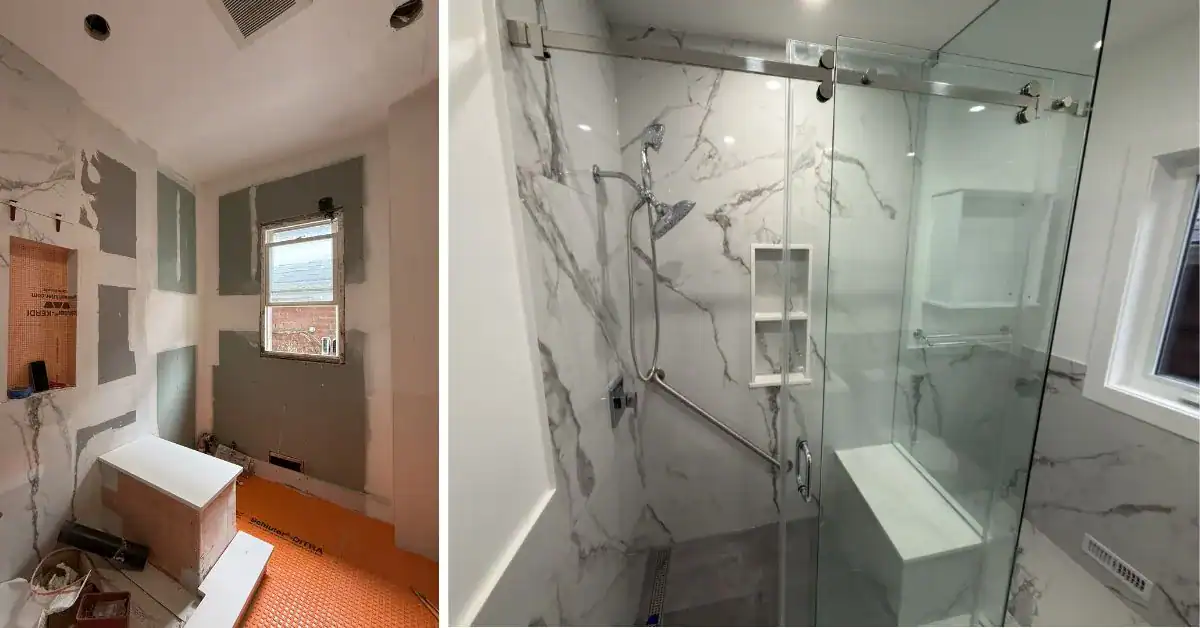
Removing Old Installations
Unlike other home improvement projects, tiling requires careful removal of old installations to ensure a smooth and even surface for the new tiles to be laid. This process may involve removing old tiles, fixtures, or even dismantling parts of your bathroom to prepare for the tiling work.
Steps for Removing Old Tiles
Removing old tiles can be a time-consuming task, but it is essential to create a clean and level surface for the new tiles. Start by carefully chiseling away the old tiles, taking care not to damage the underlying wall or floor. Once the tiles are removed, use a putty knife and adhesive remover to clean off any remaining adhesive and grout. Finally, thoroughly clean the surface with a damp cloth to ensure it is free from any debris before the new tiles are installed.
Safe Disposal of Bathroom Fixtures and Debris
Fixtures such as old toilets, sinks, and vanities may need to be removed to make way for the tiling work. When disposing of these fixtures, it is important to follow local regulations for waste disposal. Additionally, any debris from the removal process should be carefully gathered and disposed of in a responsible manner to minimize environmental impact.
Removing old installations and properly disposing of bathroom fixtures and debris is a crucial step in preparing for a tiling project. By taking the time to carefully remove old tiles and fixtures, you can ensure a clean and level surface for the new tiles, setting the stage for a successful tiling project.
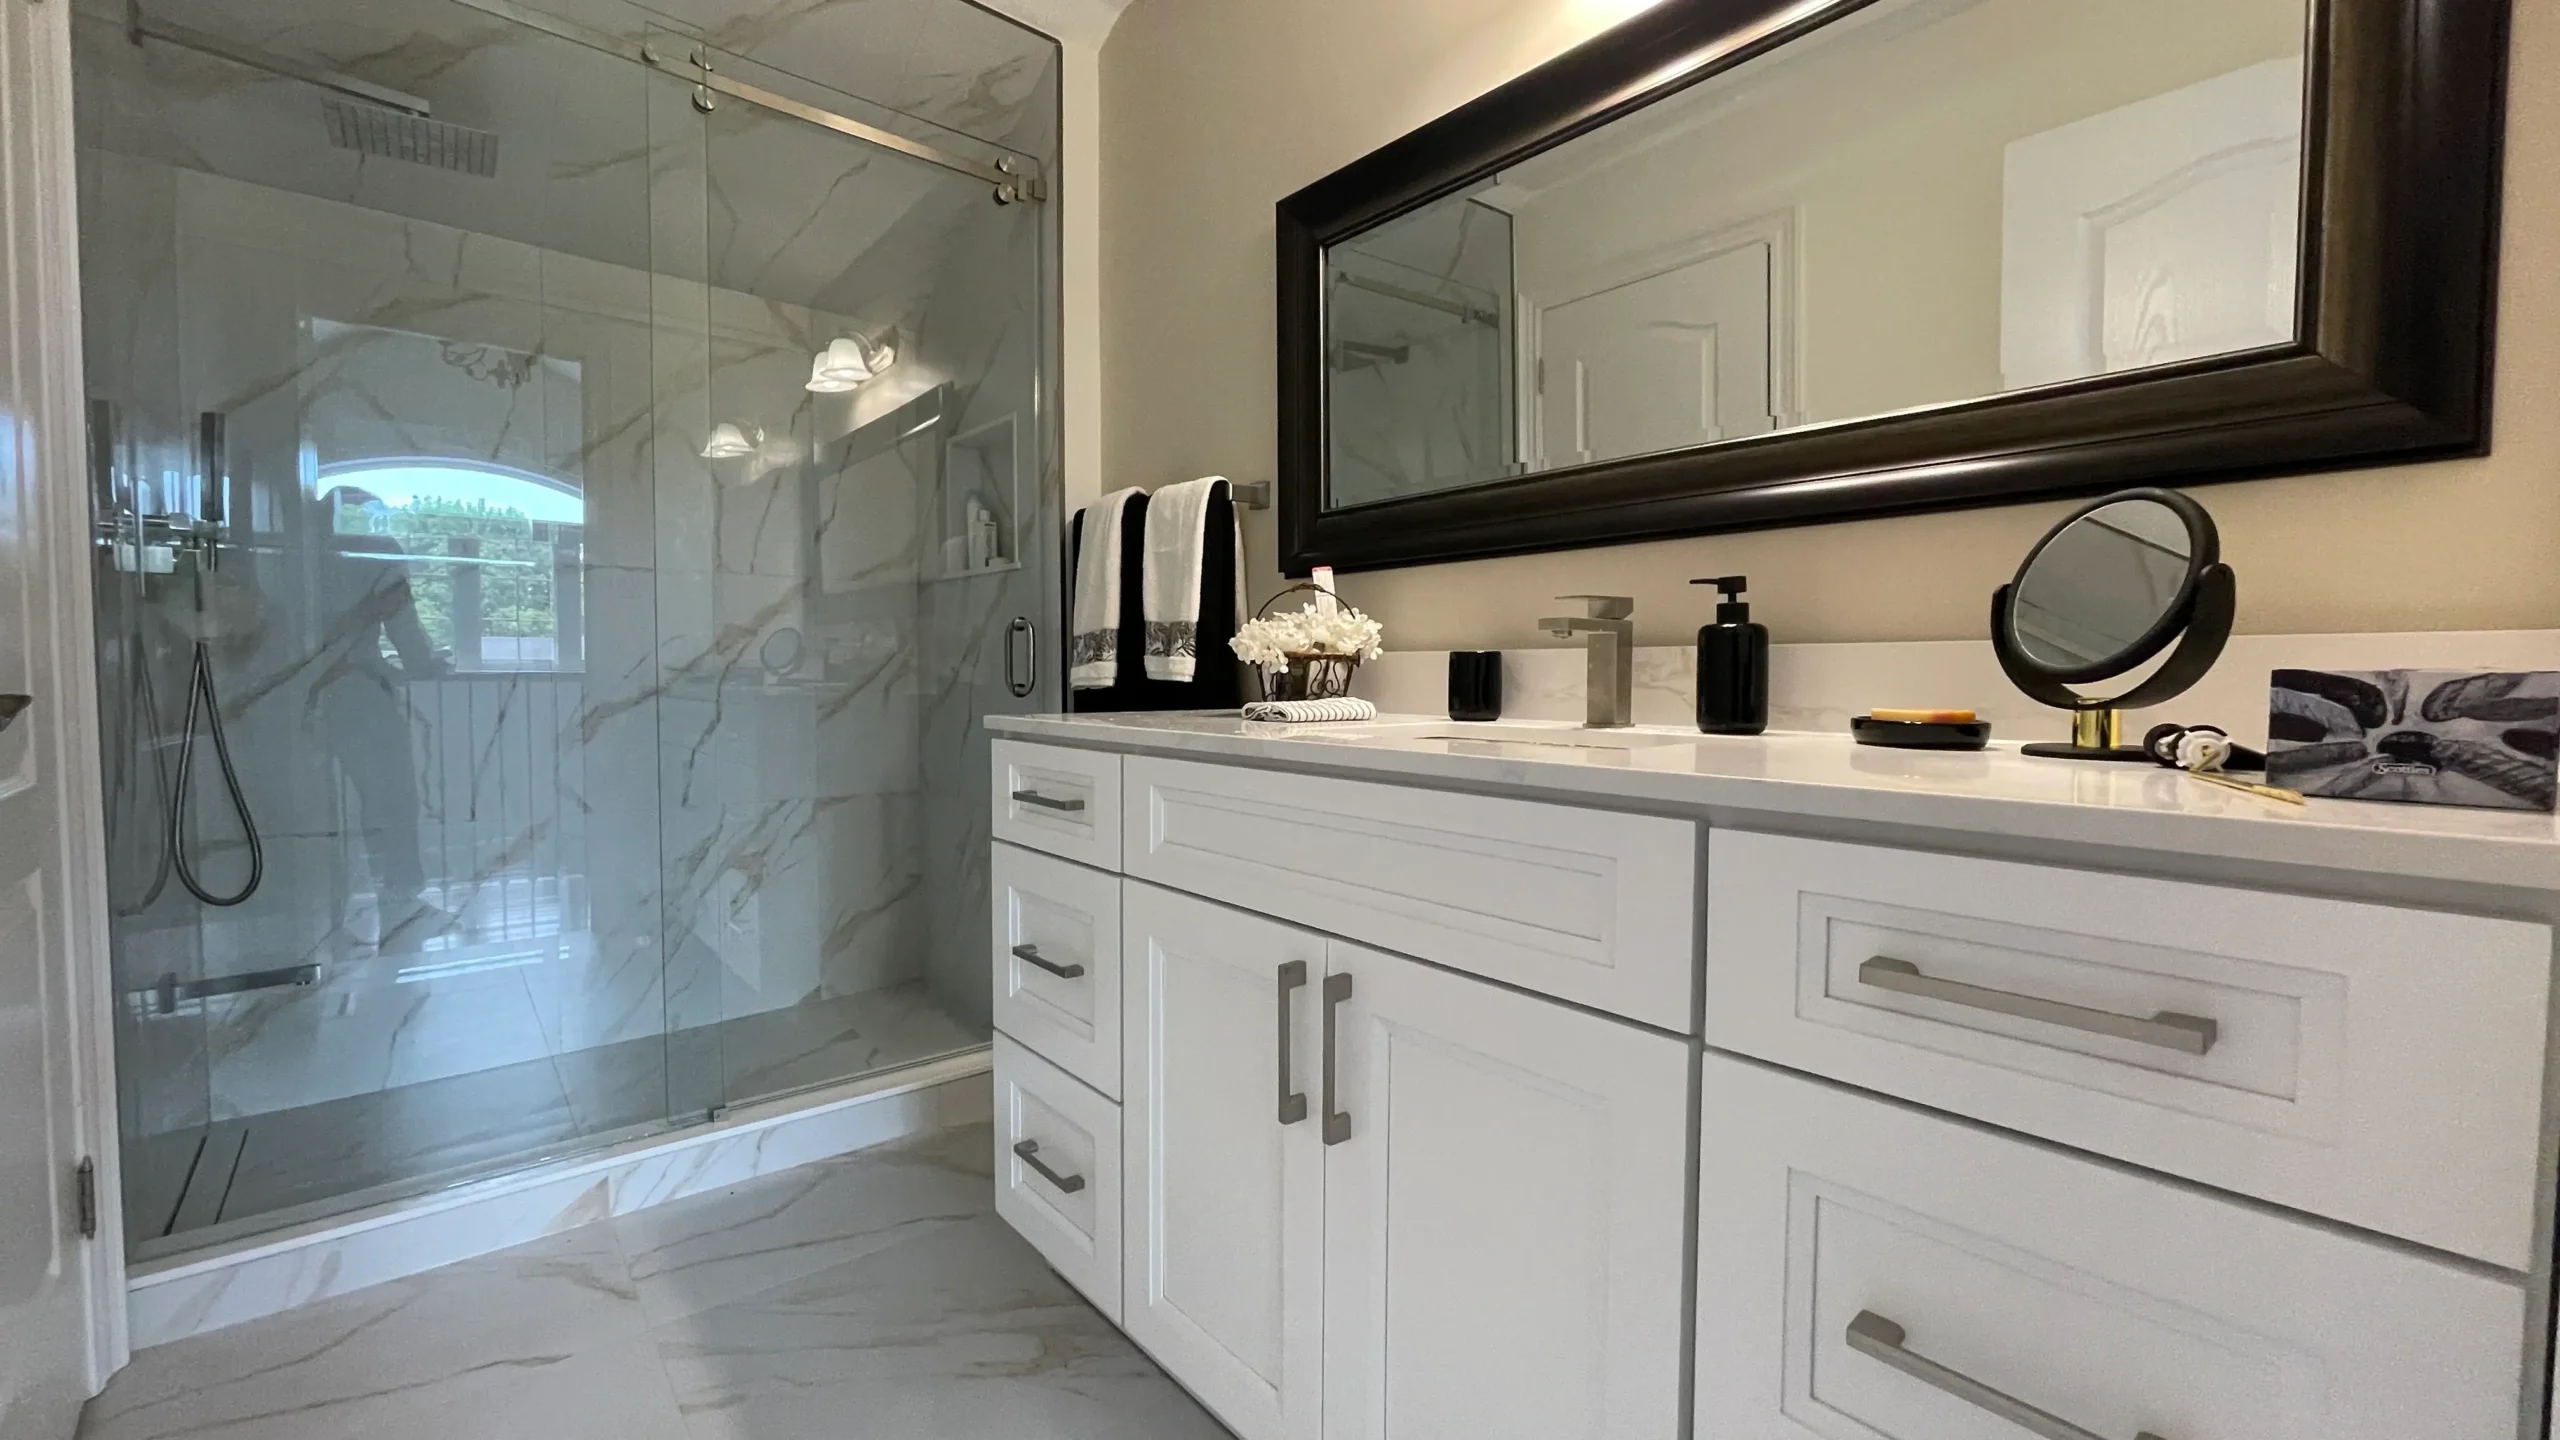
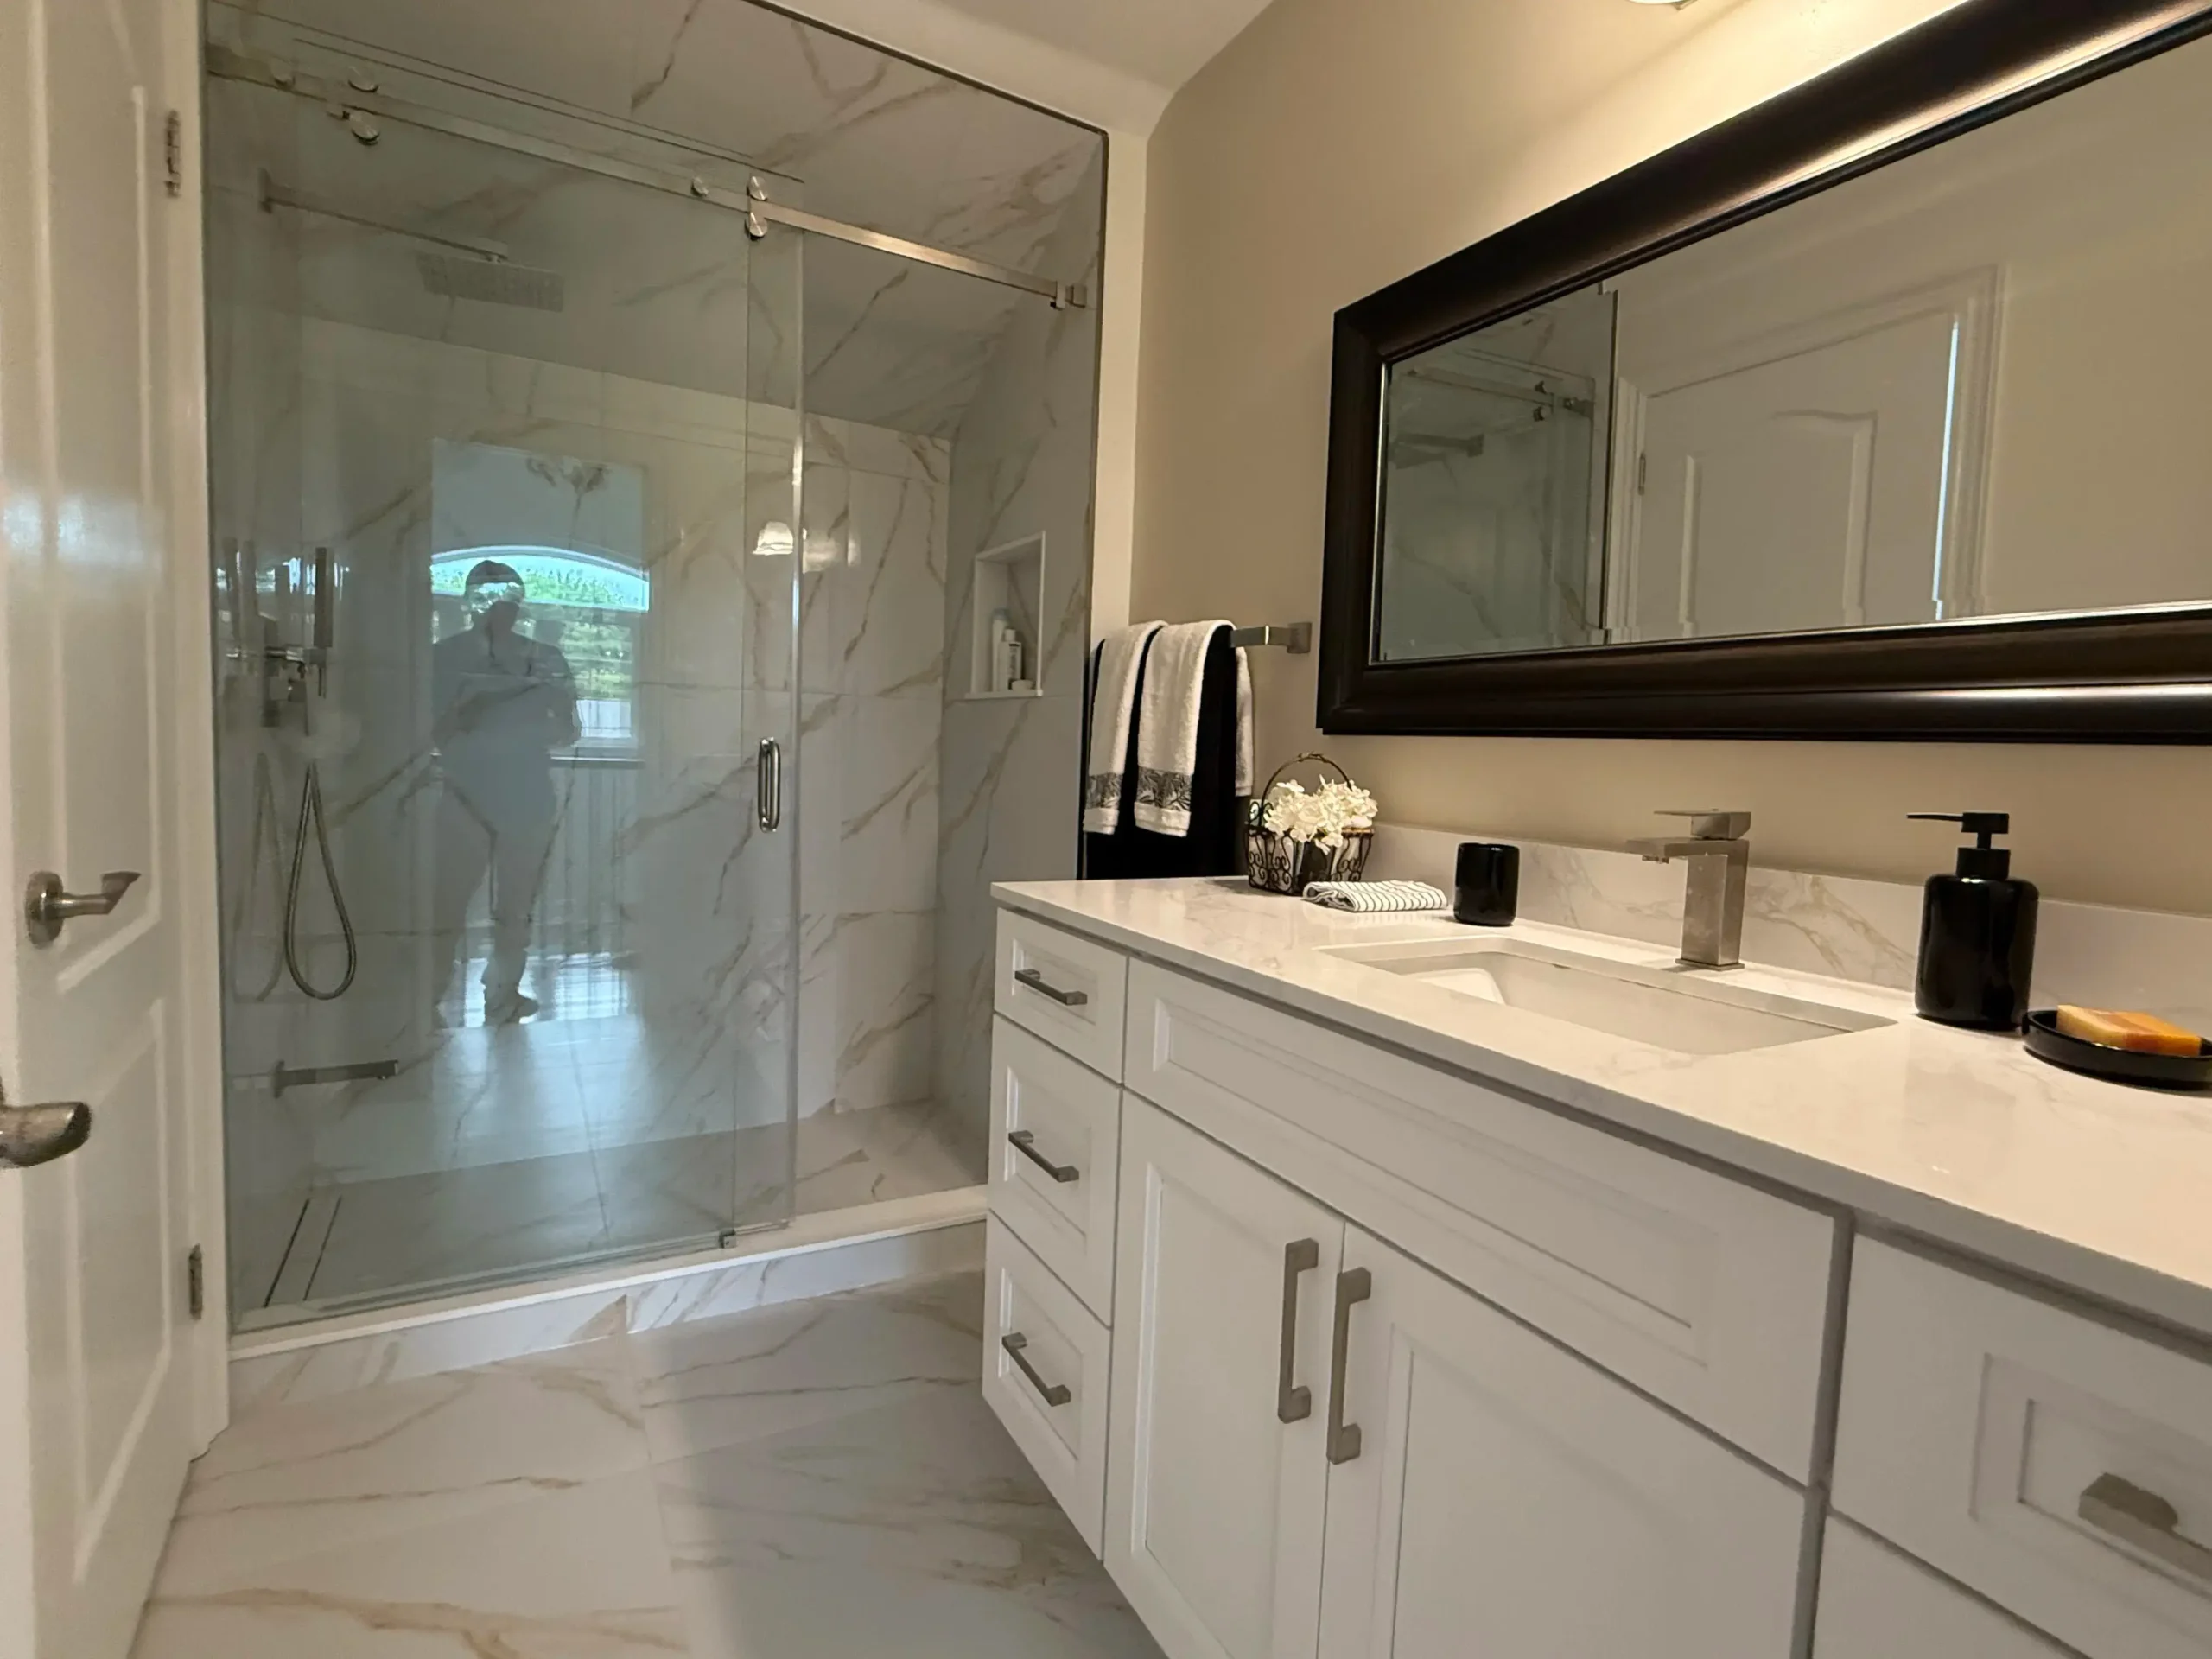
Preparing the Surface
Not sure where to start in preparing the bathroom for tiling? Check out How to Prep and Install Bathroom Shower Tile for a comprehensive guide on getting the surface ready for your tiling project.
Ensuring a Level Subfloors
To ensure a professional finish, it is essential to have level subfloors in your bathroom. Start by thoroughly inspecting the subfloors for any uneven areas. Use a leveling compound to fill in gaps and ensure a flat, even surface for tiling. It may take some time and effort, but the results will be well worth it in the end. Remember, a level subfloor is the key to a successful tiling project.
Waterproofing and Preparing Walls for Tiling
Preparing the walls for tiling is a crucial step in the process. Begin by waterproofing the walls in your bathroom. This will protect the structure of your bathroom from water damage and ensure the longevity of your tiling project. Once the waterproofing is complete, it’s time to prepare the walls for tiling. This may involve roughing up the surface with sandpaper to ensure better adhesion, or applying a primer to create a suitable surface for the adhesive to bond with. These steps are essential for a successful and long-lasting tiling installation.
Ensuring a level subfloor and waterproofing the walls are critical steps in prepping your bathroom for tiling. Taking the time to complete these tasks properly will ensure a successful and durable tiling project. By paying close attention to these details, you will set the foundation for a professional finish that will last for years to come.
Final Preparations Before Tiling
To ensure a smooth tiling process, it is essential to complete the final preparations before the installation begins. This involves gathering all necessary tiling materials and setting up a work area and timeline for the installation.
Gathering Your Tiling Materials
Tiling a bathroom requires a variety of materials including tiles, adhesive, grout, spacers, and tools such as a tile cutter and trowel. It is crucial to gather all these materials before starting the project to avoid any delays or interruptions. Make a list of all the required materials and ensure that you have enough of each to complete the tiling job without having to stop and replenish your supplies.
Setting Up a Work Area and Timeline for Installation
One of the most important steps in preparing for the tiling project is to set up a proper work area and timeline for the installation. Clear the bathroom of any unnecessary clutter and make sure there is enough space for the installation process. Additionally, create a timeline for the project, breaking down the tasks into manageable steps to ensure that the installation stays on track.
With proper planning and organization, gathering the tiling materials and setting up a work area and timeline for installation will streamline the tiling process and lead to a successful outcome. Proper preparation is key to achieving a professional-looking and long-lasting tiled bathroom.

Conclusion
Considering all points, it is crucial to prep the bathroom before beginning the tiling work. This includes removing any old tiling, fixtures, or ensuring that the space is cleared and ready for the project. By preparing the space properly, you can ensure a smoother and more efficient tiling process, ultimately leading to a successful and high-quality finished product. Taking the time to properly prep for the project will also help to prevent any potential issues or delays during the tiling process, saving time and resources in the long run.
FAQ
Q: What steps should be taken to prepare for a tiling project in the bathroom?
A: Before the tiling work begins, it’s important to ensure that the bathroom is ready. This may involve removing old tiling, fixtures, or ensuring that the space is cleared. It’s essential to have a clean, smooth, and dry surface for the new tiles to be installed properly.
Q: Do I need to remove the existing tiles before beginning the tiling project?
A: In most cases, it is recommended to remove the existing tiles before beginning a tiling project. This allows for a fresh and clean surface for the new tiles to be installed. It also reduces the risk of uneven surfaces and potential issues with the new tiling. However, if the existing tiles are in good condition and firmly adhered, it may be possible to tile over them after proper preparation.
Q: How can I ensure that the bathroom space is fully prepared for the tiling project?
A: To prepare the bathroom for a tiling project, start by removing any old fixtures, such as towel bars, toilet paper holders, and shower shelves. Clear the space of any personal items and ensure that the walls and floors are clean and free of any debris or moisture. Check for any structural issues that may need to be addressed before tiling, such as water damage or mold. It’s also important to ensure that the subfloor and walls are in good condition and properly prepared for tiling.