Step-by-Step Guide to Bathroom Renovation in Toronto (2026)
Renovating your bathroom is one of the most rewarding home improvement projects you can take on — but it can also feel overwhelming if you don’t know what to expect. This step-by-step guide walks you through the entire bathroom renovation process, from initial planning through final inspection, so you can approach your project with confidence.
Whether you’re renovating a small powder room, updating a full family bathroom, or transforming a primary ensuite in Toronto, Etobicoke, or anywhere across the GTA, this guide gives you the roadmap to a successful renovation.
Step 1: Define Your Goals and Budget
Every successful bathroom renovation starts with a clear understanding of what you want to achieve and how much you’re willing to invest. Before contacting contractors or browsing tile showrooms, take time to answer these questions:
- What’s driving the renovation? Are you updating an outdated design, fixing functional issues (poor ventilation, leaking fixtures), increasing accessibility, or preparing your home for sale?
- What’s your must-have list vs. your nice-to-have list? Prioritize the features that matter most to you — heated floors, a walk-in shower, more storage — and identify where you’re willing to compromise.
- What’s your realistic budget? In Toronto, a mid-range full bathroom renovation typically costs $15,000–$25,000. Set your budget range and include a 10%–15% contingency fund for unexpected issues.
- What’s your timeline? Are you working toward a specific deadline (selling your home, upcoming guests) or do you have flexibility? This affects contractor availability and material ordering lead times.
Step 2: Gather Inspiration and Research Design Ideas
Spend time collecting images and ideas that reflect the look and feel you want for your new bathroom. Platforms like Pinterest, Houzz, and Instagram are excellent sources for bathroom design inspiration. Pay attention to elements like tile patterns and colour palettes, vanity styles (floating, freestanding, built-in), shower configurations (walk-in, curbless, tub-shower combo), lighting design (recessed, vanity sconces, pendant), and storage solutions (recessed niches, medicine cabinets, linen towers).
Save your favourite images to share with your contractor during the consultation. The more clearly you can communicate your vision, the more accurately your team can deliver it.
Step 3: Choose the Right Contractor
Selecting the right bathroom renovation contractor is one of the most important decisions you’ll make. Here’s what to look for:
- Licensing and insurance: Confirm that the company carries WSIB coverage and liability insurance. Ask for current certificates before signing any agreement.
- Proven track record: Review the contractor’s portfolio of completed projects (not just renderings). Read Google reviews and ask for references from recent clients.
- Detailed written estimates: A professional contractor will provide an itemized quote that clearly breaks down materials, labour, permits, timeline, and scope of work. Avoid companies that give vague or verbal-only estimates.
- Clear communication: Your contractor should be responsive, transparent, and willing to answer your questions. Good communication during the quoting phase is a strong indicator of how the project will be managed.
- Warranty coverage: Ask about workmanship warranties. A reputable company stands behind its work with written warranty coverage on both labour and materials.
At Bathroom Renos, we provide free in-home consultations and detailed written estimates for every project. We’re licensed, WSIB-insured, and backed by hundreds of positive reviews from homeowners across the GTA.
Step 4: Design and Material Selection
Once you’ve chosen your contractor, the design phase begins. This is where your vision takes shape. During this stage you will finalize the bathroom layout and confirm whether any fixtures are being relocated, select tile for floors, walls, and shower areas, choose your vanity, countertop material, and mirror, pick plumbing fixtures including faucets, showerhead, and toilet, decide on lighting, ventilation, and accessories, and review and approve the complete design before work begins.
Your contractor can recommend trusted suppliers and help you stay within budget while achieving the look you want. Allow 2–4 weeks for material selection and ordering, as some items like custom vanities and specialty tiles have longer lead times.
Step 5: Permits and Pre-Construction Planning
In Toronto and across Ontario, bathroom renovations that involve changes to plumbing, electrical, or structural elements require building permits. Your contractor should handle the permit application process on your behalf. Before construction begins, your contractor should also establish a project schedule with clear milestones, order all materials and confirm delivery dates, plan site protection for your home (drop cloths, plastic sheeting, floor protection), and coordinate any sub-trades (electrician, plumber) needed for the project.
Step 6: Demolition
Demolition day marks the official start of your renovation. The existing bathroom is carefully dismantled, including removal of old tile (floor and walls), removal of vanity, toilet, and fixtures, dismantling of the shower or bathtub enclosure, and inspection of the subfloor, framing, and plumbing behind walls.
This is a critical stage because hidden issues are often discovered during demolition — water damage, outdated plumbing, mould, or deteriorated subfloor. A good contractor will document any issues found, explain the implications, and provide options for addressing them before moving forward. This is exactly why a contingency budget of 10%–15% is so important.
Step 7: Plumbing and Electrical Rough-In
With the bathroom stripped to the studs, licensed tradespeople complete the rough-in work. This includes installing or relocating water supply lines and drain pipes, running electrical wiring for lights, exhaust fan, heated floors, and outlets, installing GFCI-protected outlets (required by Ontario building code in all bathroom areas), and completing any structural modifications (blocking for grab bars, new wall framing). All rough-in work is inspected and approved by a building inspector before the project moves to the next phase.
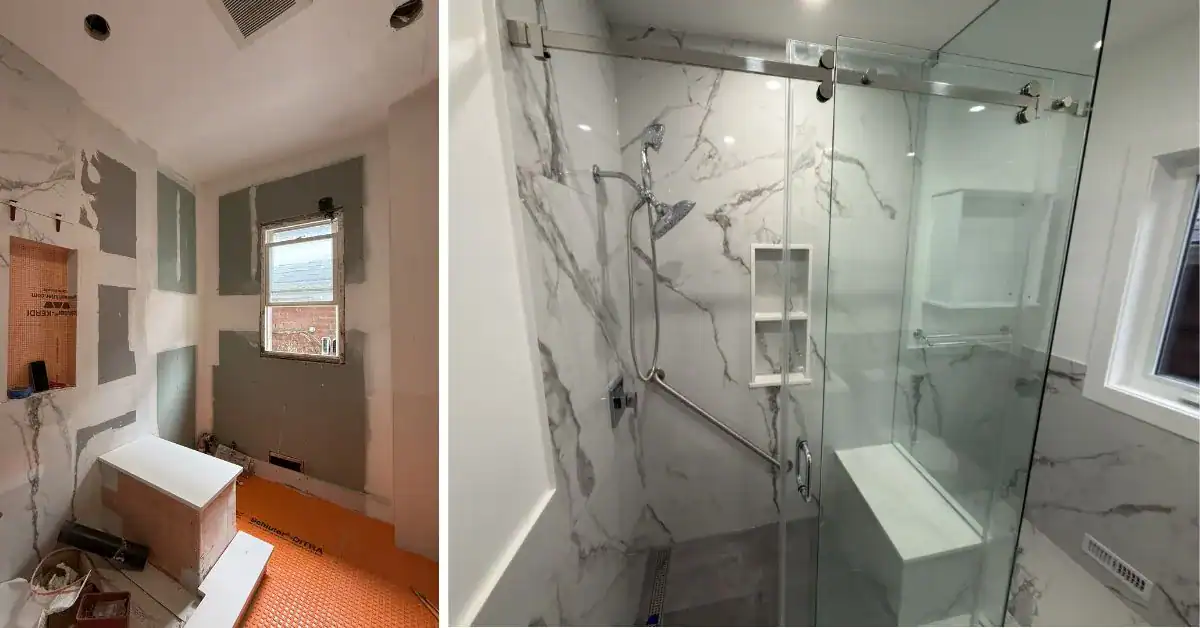
Step 8: Waterproofing and Backer Board Installation
Proper waterproofing is essential to the longevity of your bathroom renovation. This step includes applying waterproof membrane to shower walls and floor, sealing all joints, seams, and penetrations, installing cement backer board (such as Kerdi or Ditra) to provide a stable, moisture-resistant substrate for tile, and ensuring proper slope in the shower floor toward the drain for effective water management.
Waterproofing is one of the most important steps in any bathroom renovation. Skipping or cutting corners on waterproofing can lead to water damage, mould growth, and costly repairs down the road.
Step 9: Tile Installation
Tile installation is where your bathroom design truly comes to life. Skilled tile installers will lay floor tile with proper spacing and alignment, install wall tile in the shower area and any accent walls, create features like niches, shelving, and decorative borders, install heated floor mats (if included in your design), and grout and seal all tile surfaces. Tile installation typically takes 3–5 days for a standard bathroom and longer for large-format tile, intricate patterns, or natural stone that requires special handling.
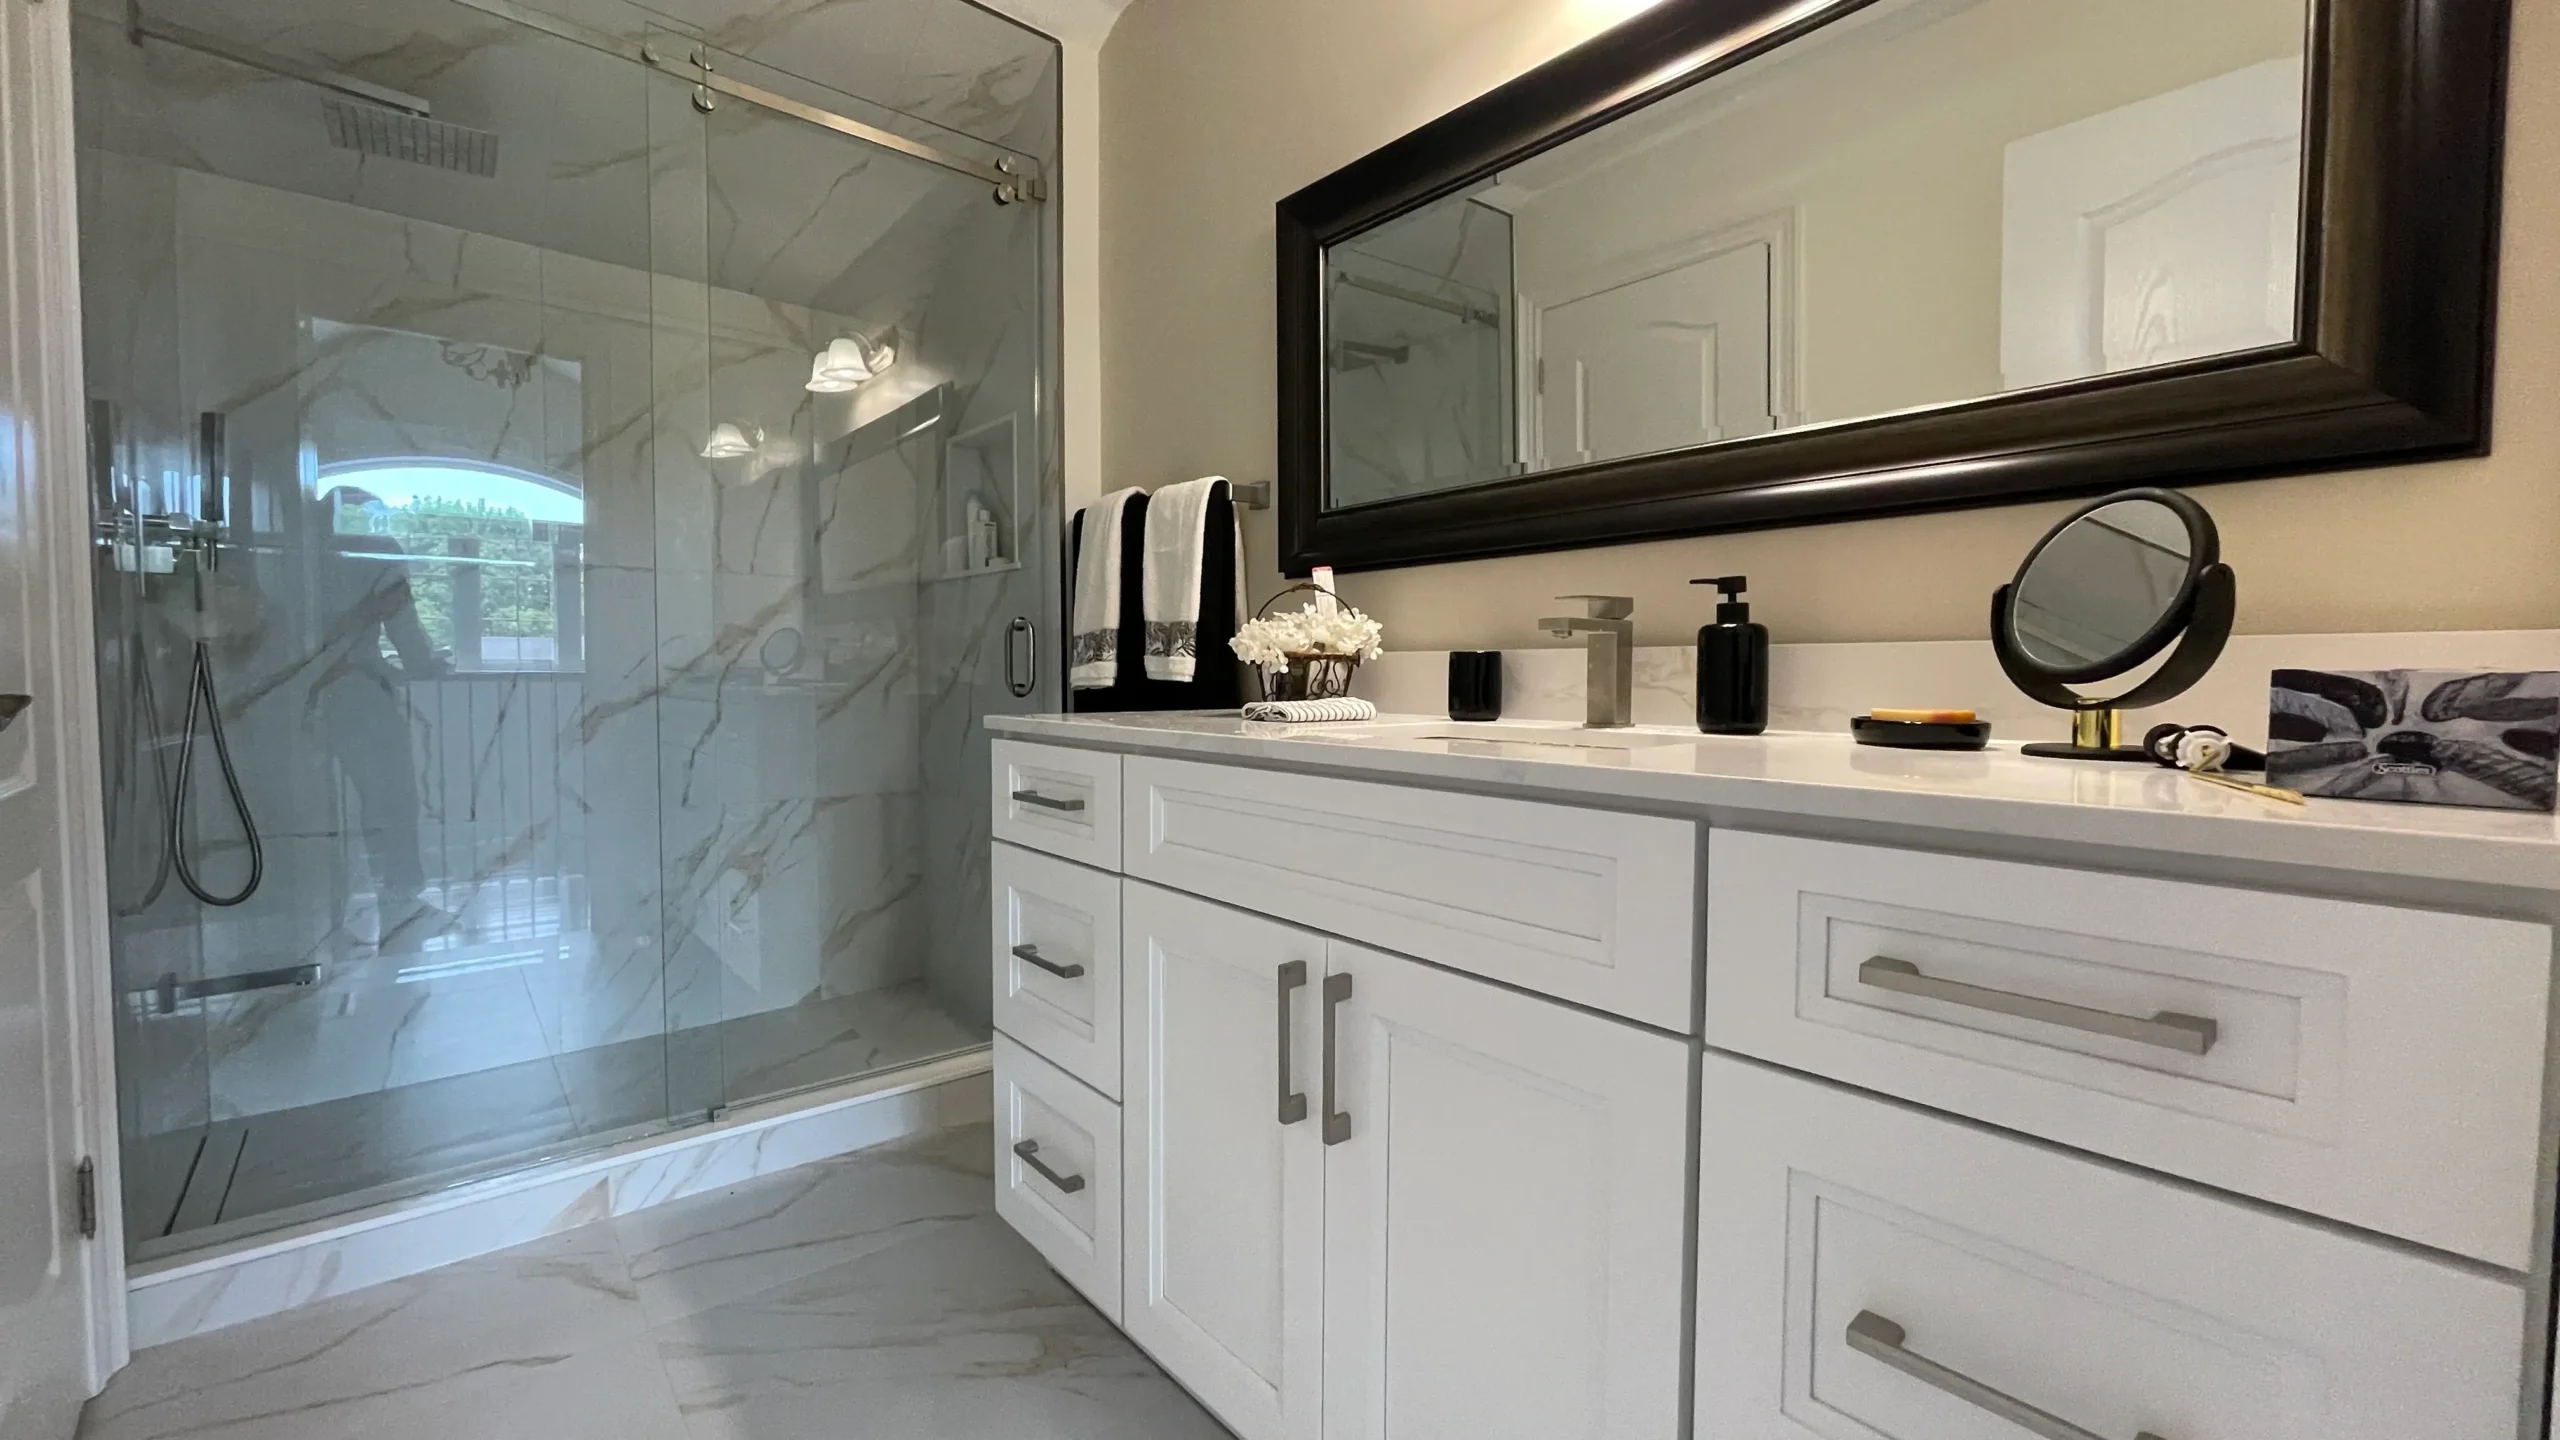
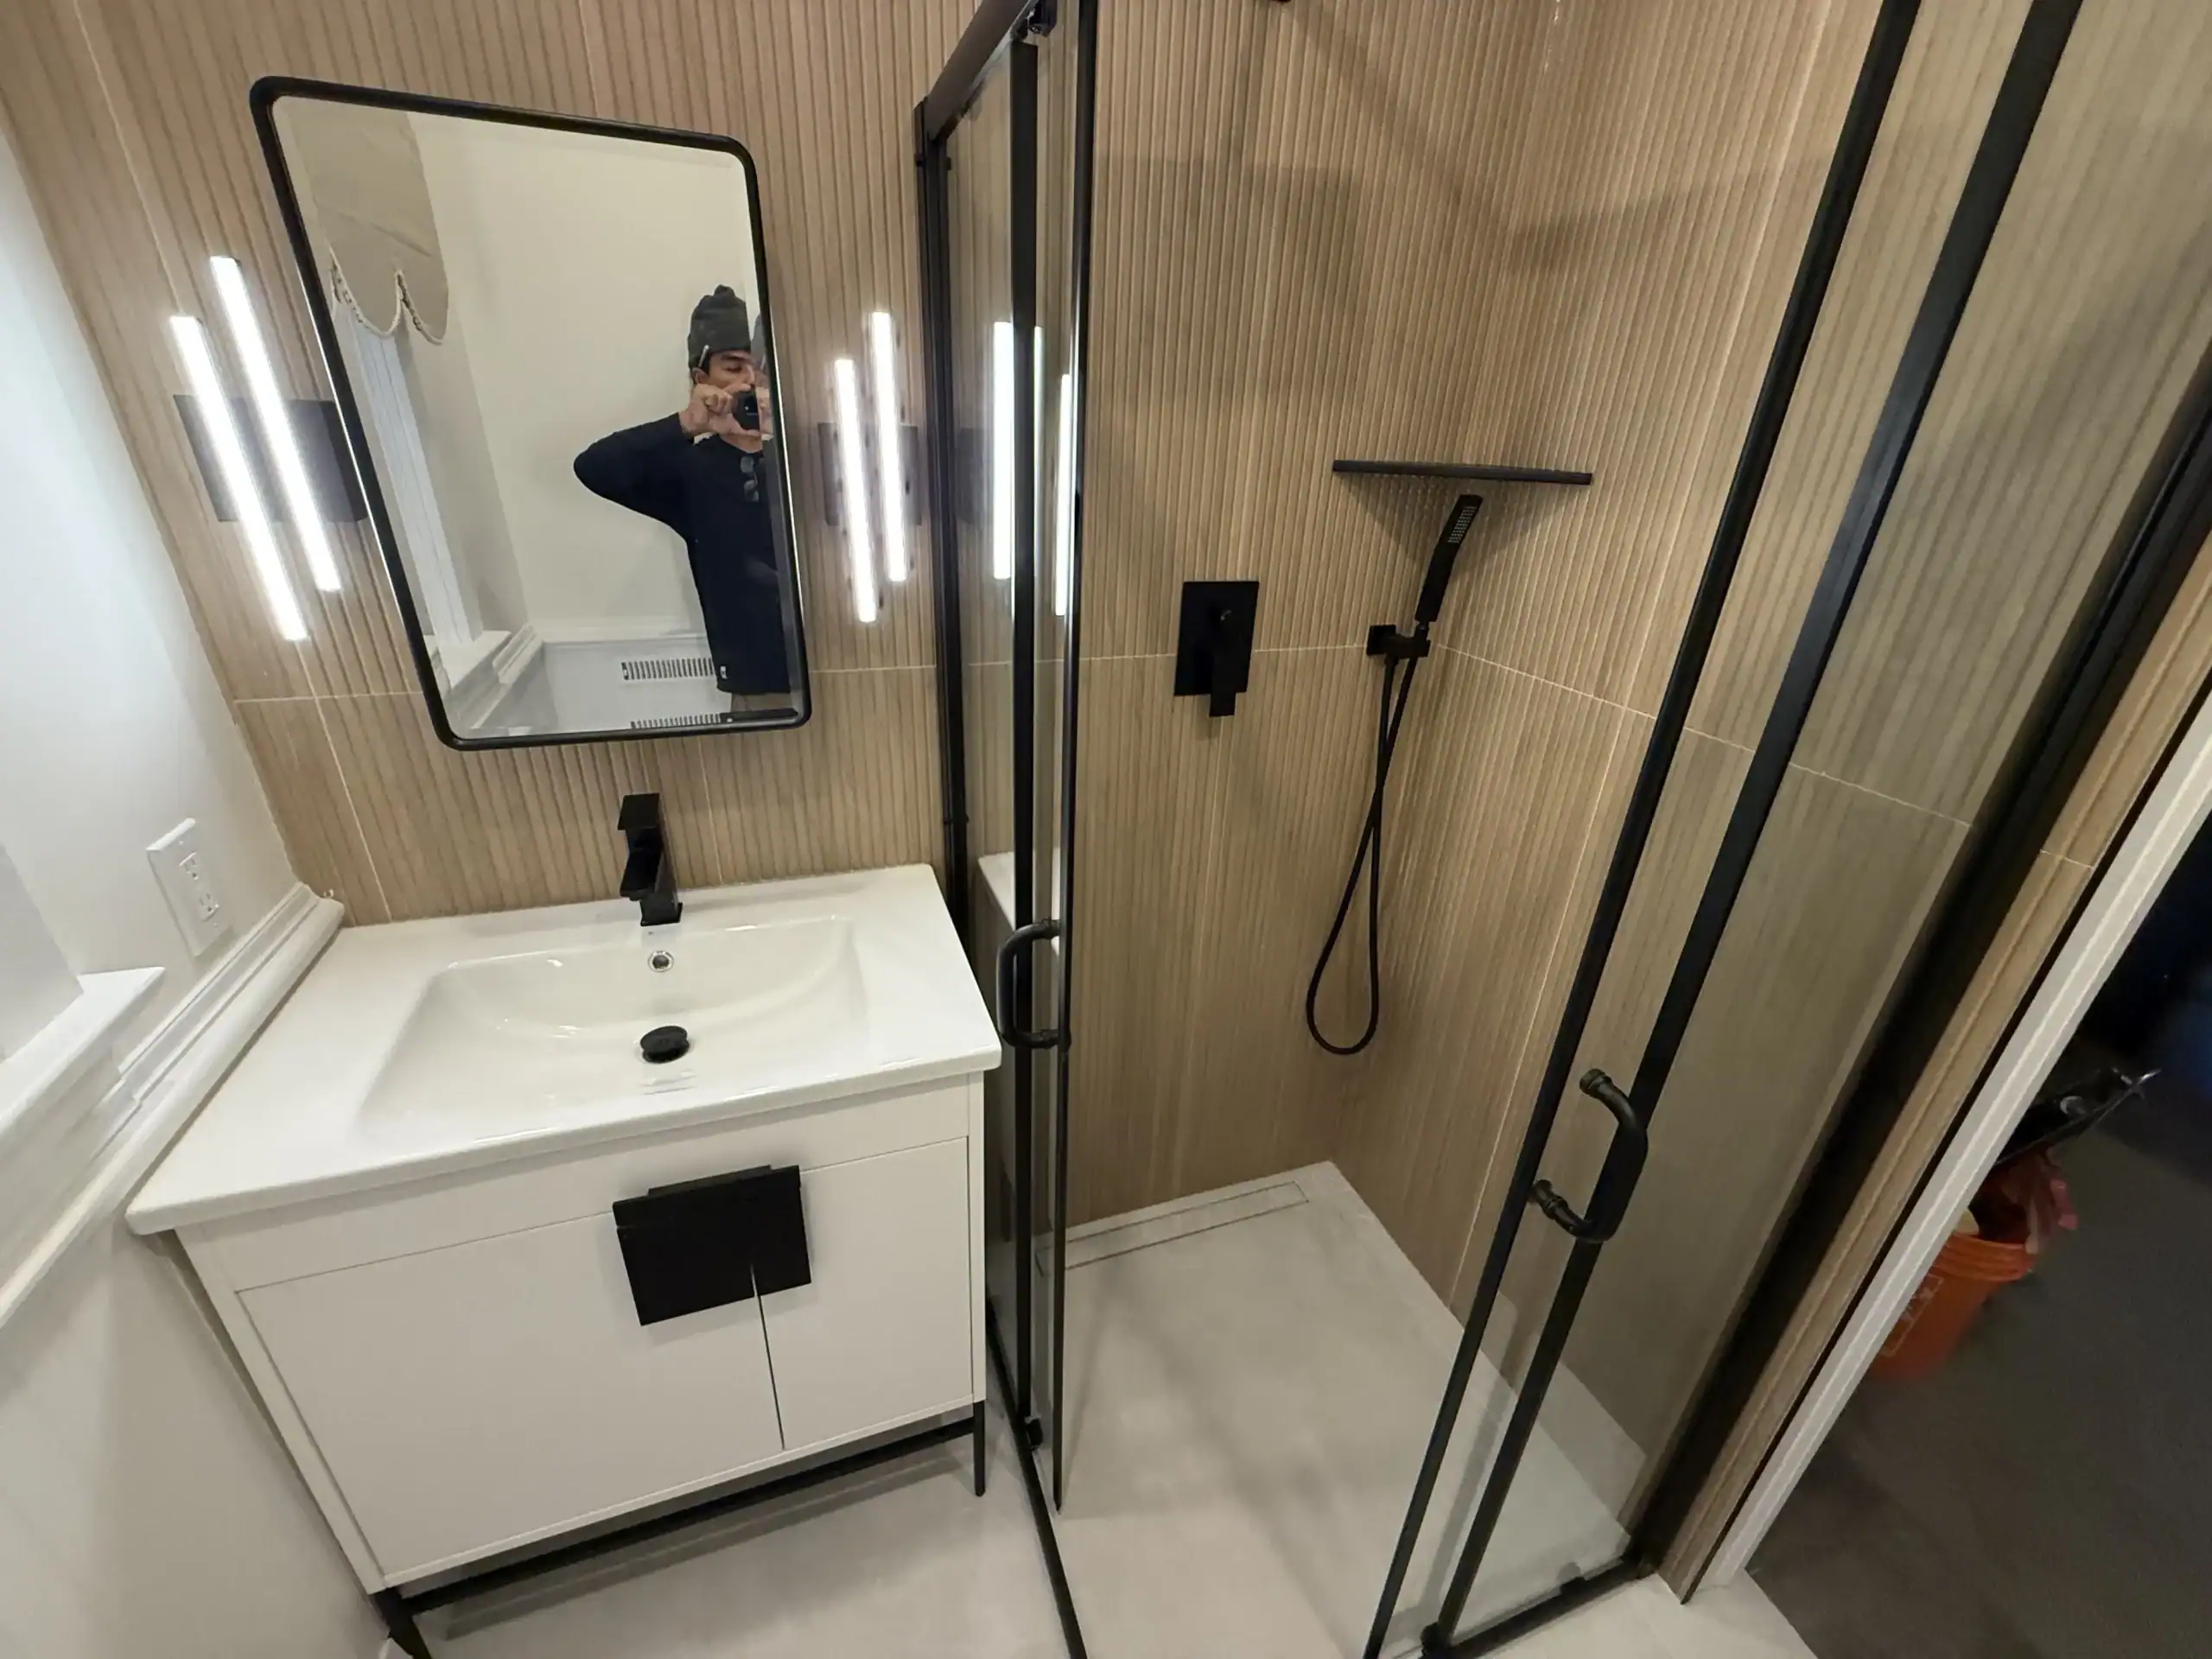
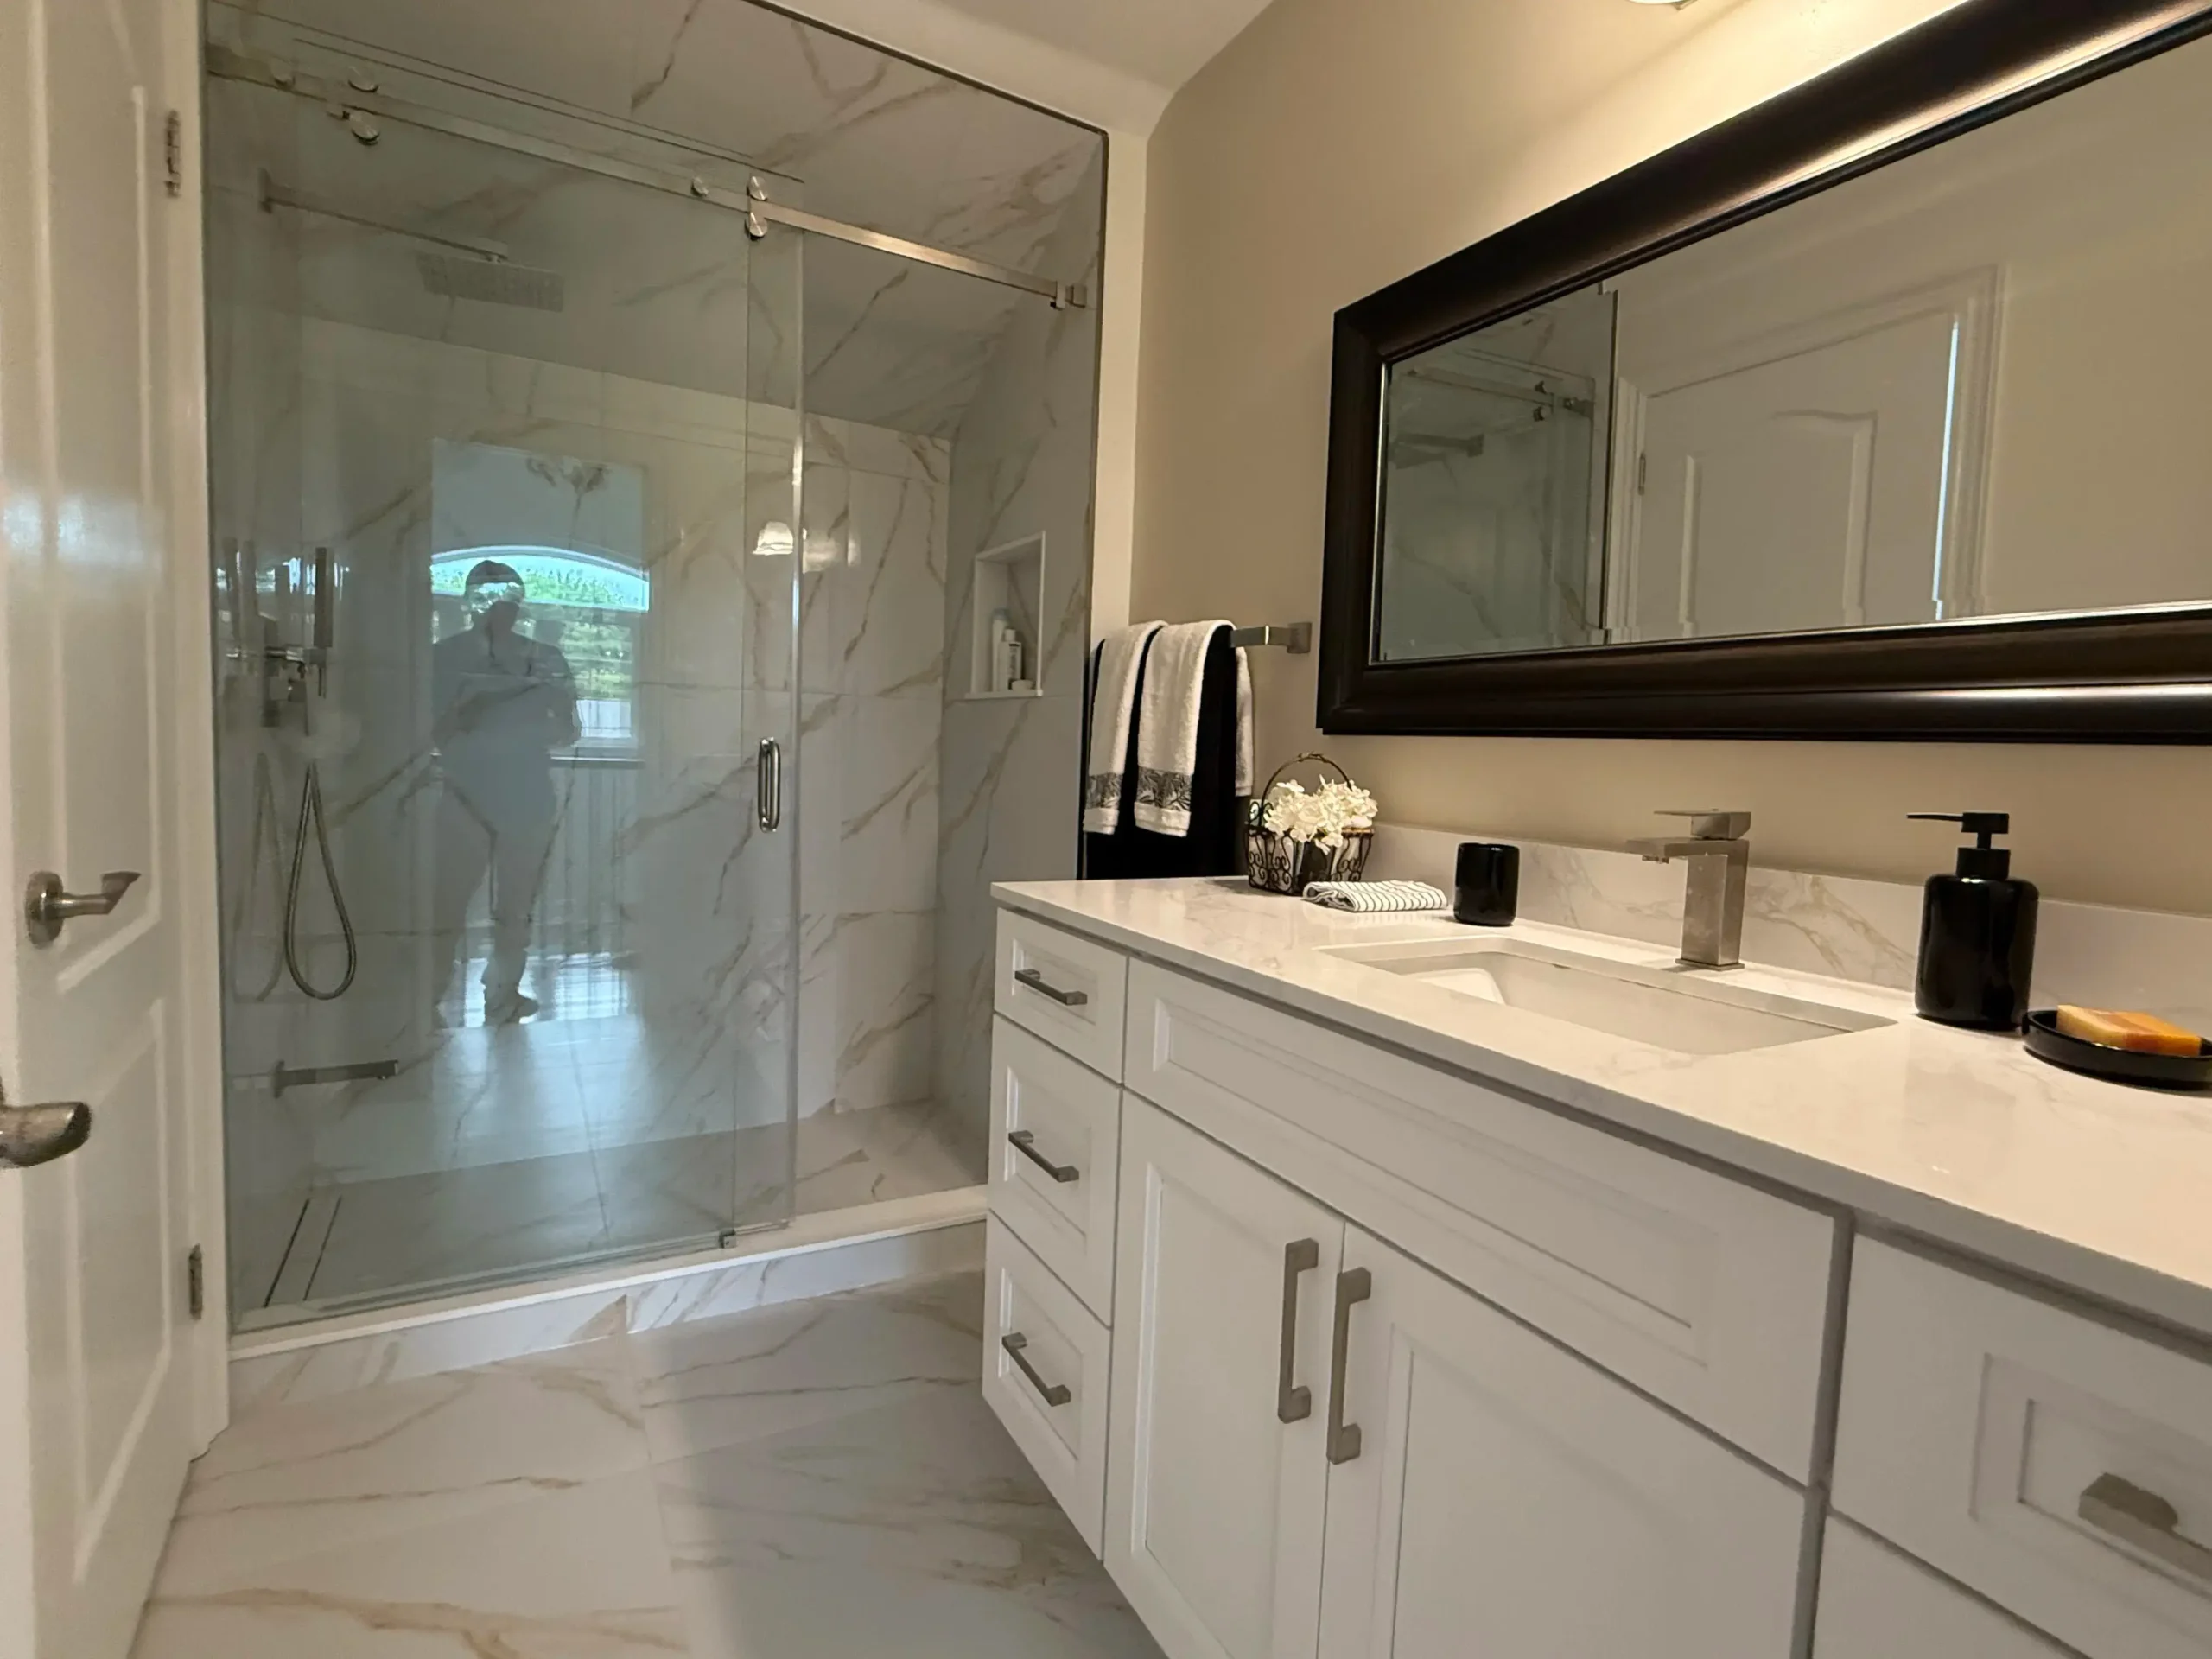
Step 10: Vanity, Fixtures, and Finishing Touches
With tile work complete, the finishing stage brings everything together. This includes installing the vanity and countertop, mounting the mirror and medicine cabinet, connecting plumbing fixtures (faucets, showerhead, toilet), installing lighting fixtures and switch plates, adding accessories (towel bars, toilet paper holder, robe hooks), applying caulking and silicone at all junctions, and final paint touch-ups and trim work.
Step 11: Final Inspection and Walkthrough
Before handing over the keys to your new bathroom, your contractor should conduct a thorough walkthrough with you. This includes testing all plumbing fixtures for leaks and proper operation, verifying that all electrical components work correctly, checking tile alignment and grout consistency, ensuring all doors and drawers open and close smoothly, reviewing the completed work against the original scope and design, and addressing any punch-list items before the project is officially complete.
Frequently Asked Questions About Bathroom Renovation
How long does a bathroom renovation take from start to finish?
A standard full bathroom renovation in Toronto takes 2–4 weeks from demolition to completion. Larger or more complex projects may take 4–6 weeks. Material lead times and permit processing can add to the overall timeline.
Can I use my bathroom during a renovation?
No. Once demolition begins, the bathroom will be out of service until the project is complete. If you have only one bathroom in your home, discuss timeline management with your contractor and make arrangements for alternative facilities during the renovation.
Should I renovate my bathroom before selling my home?
An updated bathroom is one of the most effective improvements for increasing your home’s appeal and resale value. In the Toronto market, a well-done bathroom renovation can recoup 60%–80% of its cost and significantly reduce time on market.
What is the best order for a bathroom renovation?
The standard order is: planning and design, permits, demolition, plumbing and electrical rough-in, waterproofing and backer board, tile installation, vanity and fixture installation, and finishing touches. Following this sequence ensures each trade builds on properly completed work from the previous stage.
Do I need to hire an architect or designer for a bathroom renovation?
For most standard bathroom renovations, an experienced contractor can handle both design and construction. However, if you’re significantly reconfiguring the layout, combining rooms, or working on a heritage property, an architect or interior designer can add significant value to the project.
What’s the biggest mistake homeowners make during bathroom renovations?
The most common mistake is underestimating the budget. Not setting aside a contingency fund, choosing materials before understanding the full scope of work, and selecting contractors based on price alone are the top reasons renovations go over budget or result in poor outcomes.
Start Planning Your Bathroom Renovation Today
A successful bathroom renovation starts with the right plan and the right team. At Bathroom Renos, we guide homeowners across Toronto, Etobicoke, North York, Mississauga, and the GTA through every step of the process — from the first consultation to the final walkthrough.
Request your free quote today and let’s start building the bathroom you’ve always wanted.